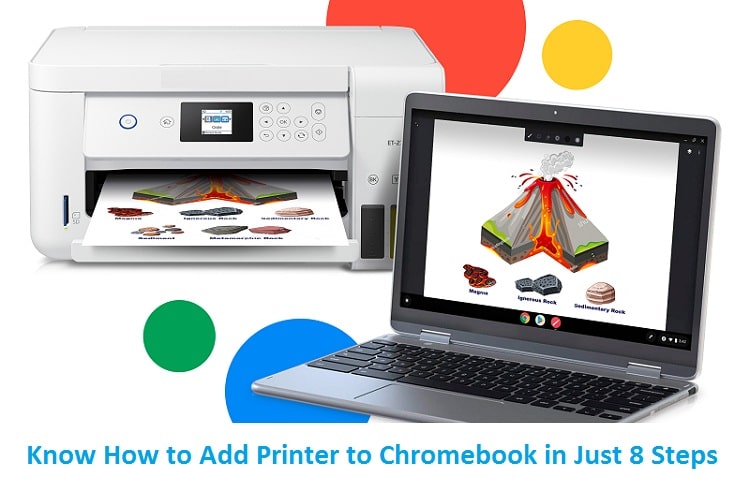
In this digital world, we all are connected to internet and doing things online. Google’s Chromebook is all about online services. Sometimes we need printouts from Chromebook to complete our task. Most of the Chromebooks does not support the Bluetooth printing now. But you can add printer to Chromebook to print from your Chromebook using most printers that connect to Wi-Fi or a wired network.
How to add Printer to Chromebook?
It’s totally up to you whether you want to add your printer to Chromebook using USB cable or wireless connection. After that you can print to your printer which is connected to your Wi-Fi network.
- Turn on your printer and connect it to the Wi-Fi network.
- Turn on your Chromebook and sign in and connect it to same network.
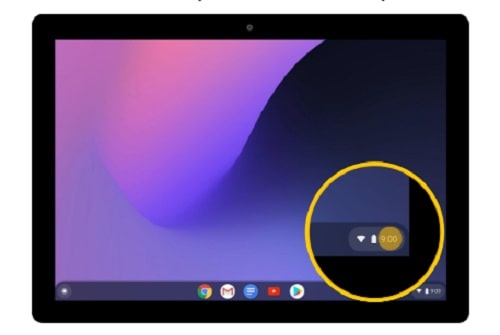
- Click the time in the lower-right corner of the screen.
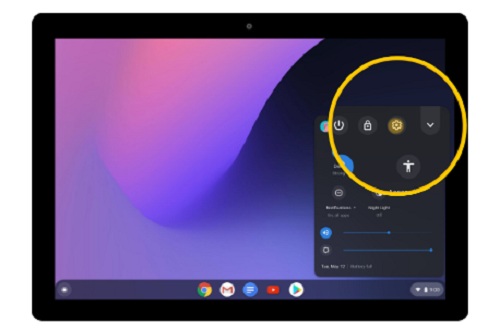
- Click on Settings gear in the pop-up window.
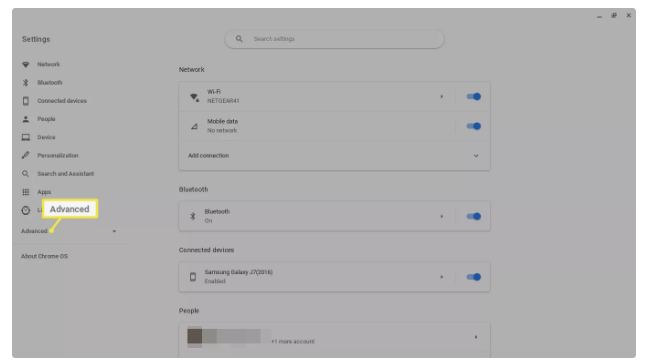
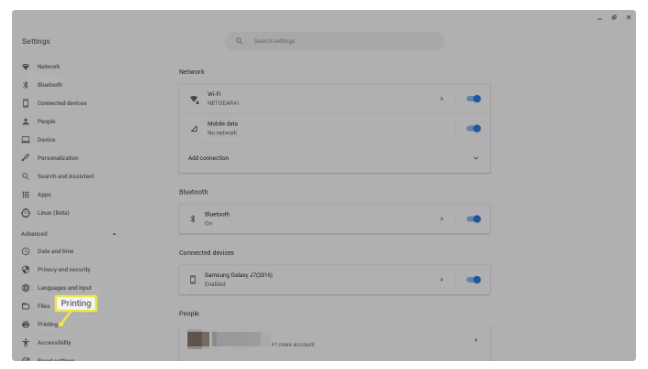
- In the left Settings menu, select Advanced.
- Click on Printing under Advanced.
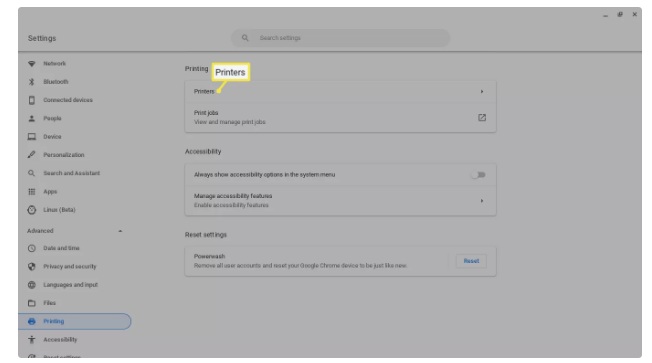
- Under Printing option, select Printers.
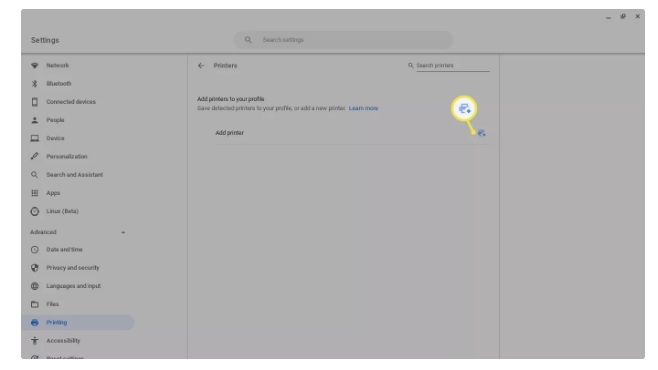
- Click on Add a printer icon and choose your printer and click on Add.
After applying the above steps, you can successfully add a printer to Chromebook. After adding the printer to Chromebook, the next step is to print on a Chromebook.
Steps to Print on a Chromebook
Once you have done the setup of printer with the Chromebook, you can print anything using simple steps:
- Open the web page or a document that you want to print and press Ctrl+P.
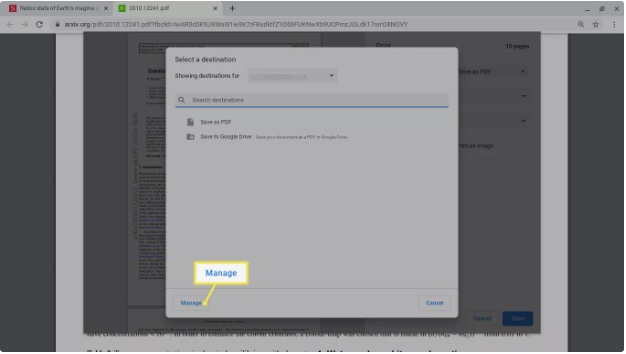
- Select See more drop-down menu which is next to Destination.

- Select your targeted printer. If it is not there then choose Manage.
- Now select Print.
How to Connect a Printer to Chromebook using USB Cable?
If you have a problem connecting your printer to Chromebook wirelessly or using a much older printer then you can connect it using USB cable. Here are the easy steps to connect a printer physically to a Chromebook using a USB cable.
- Plug one end of the cable into printer and other into Chromebook using an adapter.
- Go to Chromebook settings and type “print” into the search box.
- Choose “Printers,” and then click the blue “Add Printer” button.
- Select your printer’s name, and click the blue “Add” button to finish.
You might also like: Printer printing blank pages
Final Words
We hope that the above mentioned steps made your printing easy by connecting printer to Chromebook. You can print your desired printouts after setting up the printer on Chromebook. If you have any technical issue with the printer then contact to printer’s manufacturer to fix the problem.